How to Use Sentry for Application Monitoring and Error Tracking in Laravel 8
Sentry Laravel 8 - Every time during the development process of a system and until the system is used in public (production), it cannot be separated from the application monitoring process or monitoring the system to avoid unwanted things such as bugs or errors. If our system is made with Laravel, there is software or platform that is very helpful in the monitoring process. The service in question is sentry.
What's Sentry ?
Sentry is more than software for error monitoring. Sentry is also a software that can be used for performance monitoring. The Sentry platform can assist developers in diagnosing, repairing and optimizing the performance of the code that has been created. With Sentry, developers can save time and energy. Currently, Sentry supports more than 30 programming languages such as PHP, Go, Python, Javascript and many more.
And in this article, I will share how to use Sentry for monitoring and error tracking in Laravel 8. ✍
Sentry Laravel 8
Using Sentry in Laravel 8
Alright, after getting a little acquainted with Sentry, now is the time for us to implement or use sentry for application monitoring or error tracking in Laravel 8. For implementation using sentry in Laravel 8, let's start from the beginning by registering a new account on Sentry.io then installing Latest Laravel.
Step 1: Get Started
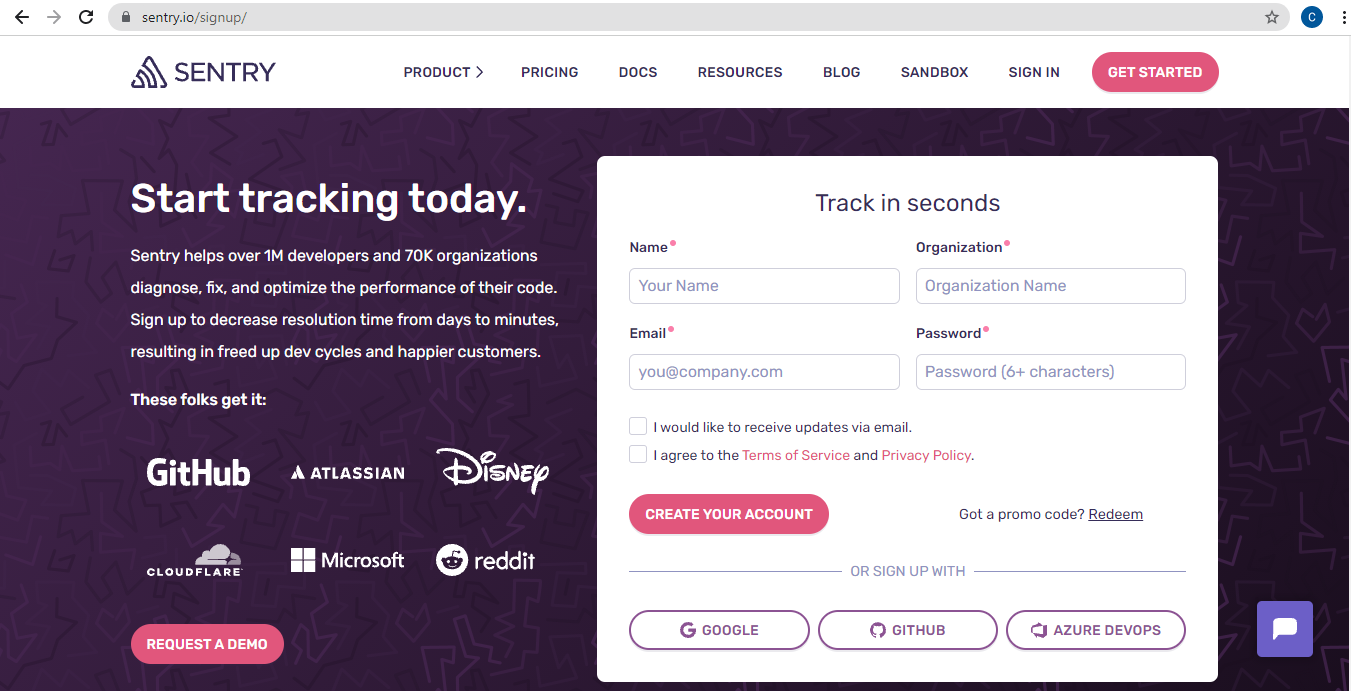
Ok, in this first step, we start by creating a Sentry account by visiting the official website or you can click here. To register a new account on sentry, there are several options such as register with email, Google account, Github or with Azure DevOps.
For example, here I register a sentry account using a google account. Later a page will appear or appear as shown above. In this step, we can click the New Account button.
Then, fill in the name, organization, click the checkbox "I agree to the Terms of Service and the Privacy Policy" and click Continue.
Then, select the platform project that you want to integrate with Sentry. Because in this article we will integrate with Laravel, so at this step we can select Laravel and then click the Create Project button.
After clicking Create Project, you will be directed to the onboarding page.
Step 2: Install Laravel
//via Laravel Installer
composer global require laravel/installer
laravel new laravel-sentry

//via Composer
composer create-project laravel/laravel laravel-sentry
Okay, after successfully registering a sentry account, let's continue by installing laravel which we will integrate with sentry to find out or monitoring or error tracking. For laravel installation, you can use the laravel installer or use composer like the example above.
Please choose one method you want to use for laravel installation. From the two examples of laravel installation commands above, they will both generate or generate a laravel project with the name laravel-sentry.
If you have successfully installed laravel, don't forget to go to the laravel project directory with the cd laravel-sentry command.
Step 3: Install Sentry-Laravel Package
composer require sentry/sentry-laravelRun the composer command as above to install the setry-laravel package in the laravel project we just installed.
Step 4: Add Sentry Reporting
 public function register()
    {
        $this->reportable(function (Throwable $e) {
            if (app()->bound('sentry') && $this->shouldReport($e)) {
            app('sentry')->captureException($e);
            }

            parent::report($e);
        });
    }
Open the file in App/Exceptions/Handler.php, then in the register function add the sentry reporting code. So the function register in the file will be like the code above.
Step 5: Setup Sentry
php artisan sentry:publish --dsn=https://aa17ad6a62d1409bb41d81a233b65@o1030163.ingest.sentry.io/5997394Then the next step is to setup sentry in laravel by running the command as above. * The command above, obtained when registering and creating project sentry in the first step.
If the above command is executed, it will create a config/sentry.php file and add DNS in the .env file as below.
SENTRY_LARAVEL_DSN=https://aa17ad6a62d1409bb41d81a233b@o1030163.ingest.sentry.io/5997394
SENTRY_TRACES_SAMPLE_RATE=1
Testing
Okay, after going through the processes starting from registering a sentry account, creating a sentry project, installing laravel to integrating sentry in laravel, and now it's time for a trial.
Route::get('/debug-sentry', function () {
    throw new Exception('My first Sentry error!');
});
Open the routes/web.php file, then add a new route with the code as above. If it has been added, now try to run laravel project with the command php artisan serve.
Then open the laravel project in a browser by accessing the URL laravel-sentry.test/debug-sentry or 127.0.0.1:8000/debug-sentry.
Now try to open the issue page on each sentry account, then there will be a new issue like the picture above. If it appears or appears like the image above, it means that sentry has been successfully integrated in Laravel and we can monitor our system or project to perform performance monitoring or error tracking.
Conclusion
Until the end of this article, we have successfully integrated sentry in Laravel 8 to perform performance monitoring or error tracking. With sentry, we can easily find out the performance of our system or can also find out if there are bugs or errors in the system.
Hopefully this article can be useful, see you in the next article and Happy Coding. 👨💻 🚀
💻 Full Documentation: Sentry for Laravel
- Cara Mengatasi Error XAMPP: MySQL shutdown unexpectedly 23 Oktober 2021 68264 views
- Tutorial CRUD (Create, Read, Update & Delete) Codeigniter 4 dengan Bootstrap 14 Oktober 2021 33769 views
- Laravel 8: REST API Authentication dengan Sanctum 17 September 2021 32659 views
- Membuat REST API CRUD di Laravel 8 dengan Sanctum 18 September 2021 28847 views
- Contoh Cara Menggunakan Sweet Alert di Laravel 8 27 Agustus 2021 28221 views


