
How to Install XAMPP on Mac OS (2021)
Install XAMPP di Mac OS - Hi Coderrs 👋 In this article I will share a tutorial on how to easily install XAMPP on Mac OS. To install XAMPP on Mac OS is actually not much different from installing XAMPP on Windows, but there are some things that distinguish it. The steps in this article, I implemented to install XAMPP on MacOS High Sierra.
Previously, a little introduction about what XAMPP is. XAMPP is software that is commonly used by programmers as a local server for the development process. XAMPP consists of several modules such as Apache, MariaDB, PHP, Pearl and others. In addition, XAMPP is also a multiplatform application or software which means it can be used or run on various OS or Operating Systems such as Windows, OS X and Linux.
Steps to Install XAMPP on Mac OS
Alright, let's start to download and install XAMPP on Mac OS. 🚀 👨💻 👇
Download XAMPP
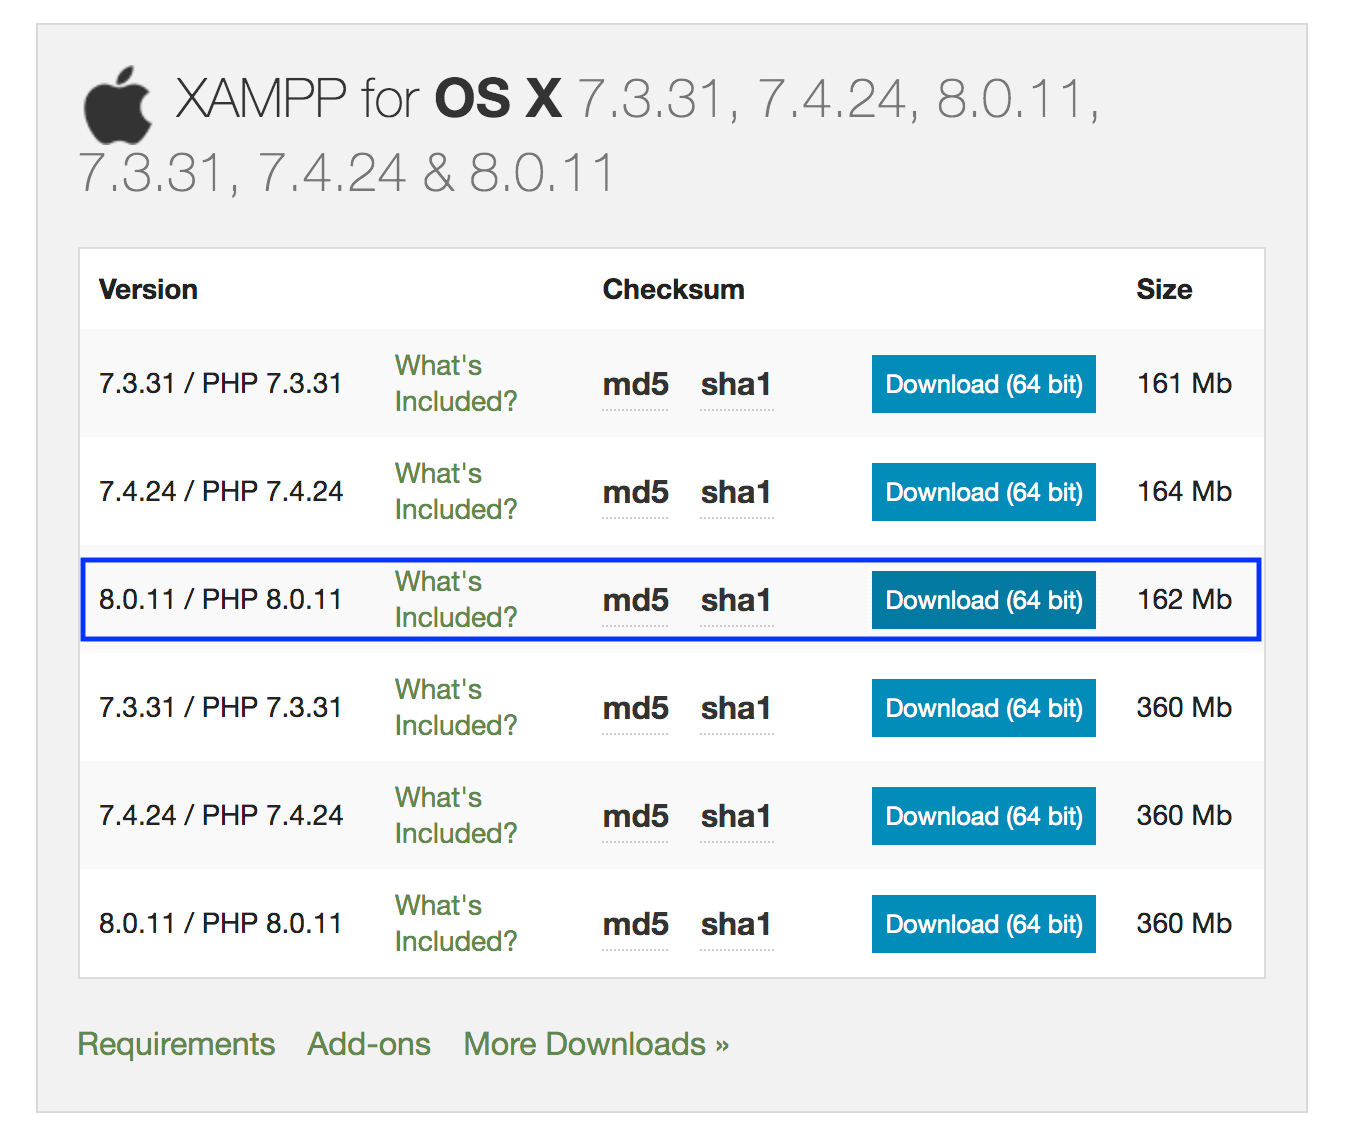
Let's start installing XAMPP on Mac Os starting with downloading the XAMPP application on the official website. Here I will download XAMPP version 8.0.11 with a size of 162 Mb or as marked in blue in the image above. Please click the Download button and wait for the download process to complete.
Change File Extension

After the XAMPP application download process is complete, now please rename the XAMPP file or application that has been successfully downloaded or rather change the extension from the initial extension, namely bz2 to dmg. If a pop up appears as shown above, click Use .dmg.
Start Installing XAMPP on Mac Os

Okay, after the steps to change the XAMPP application file extension to .dmg, now please double click the file. Then later it will appear like the image above. Now in this step, please double click on the XAMPP icon.
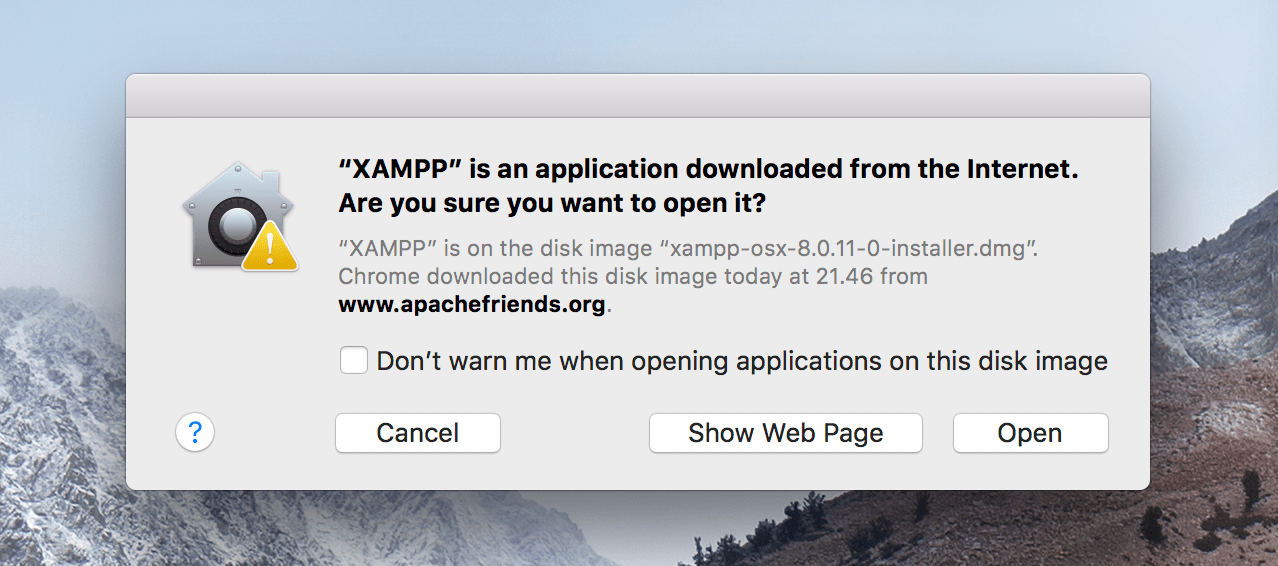
Later a pop up will appear again as shown above. In this step, we can click the Open button.

Next, enter our mac credentials such as username and password then click OK.

Then next, we will go into the wizard steps to setup XAMPP on Mac OS. In this step, we can just click the Next button.

Then in this step, select what components you want to install. If you want to install all the components, namely XAMPP Core Files and XAMPP Developer Files, click the two component checkboxes and continue to click the Next button.
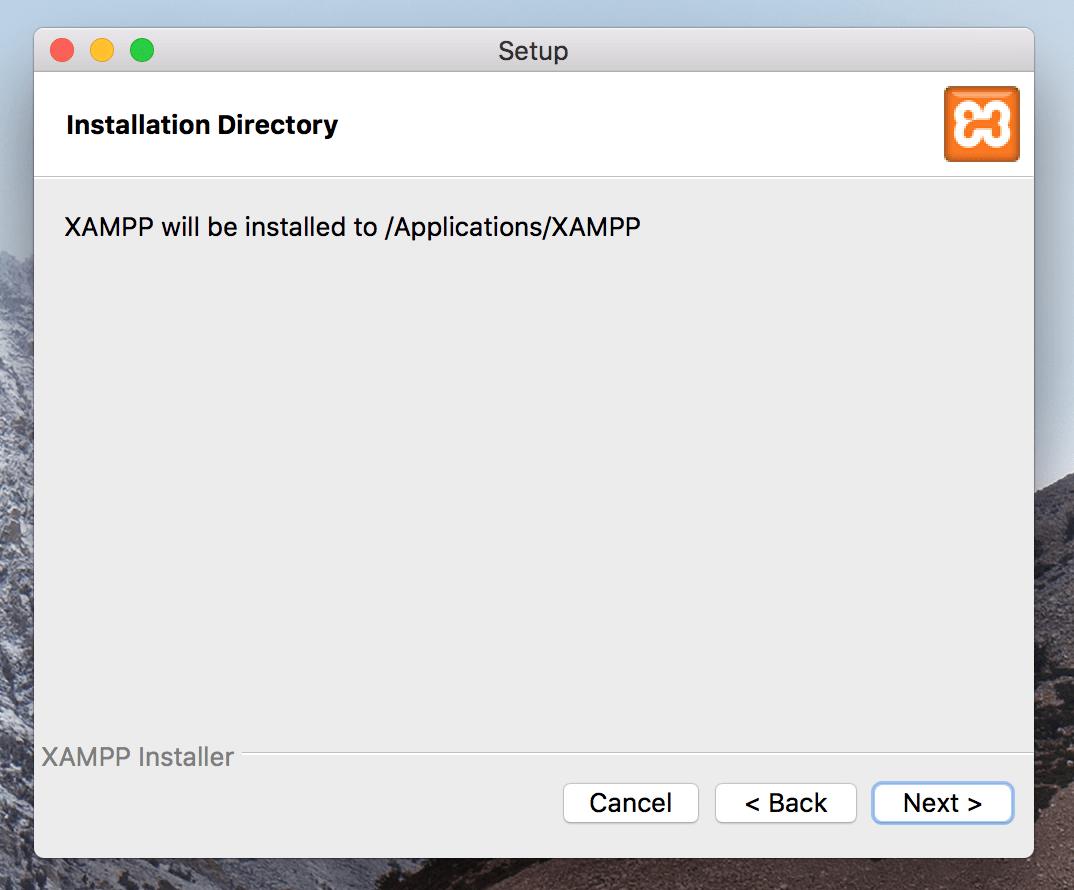
The XAMPP application will be installed in the Applicationts/XAMPP directory. In this step, continue by clicking the Next button.
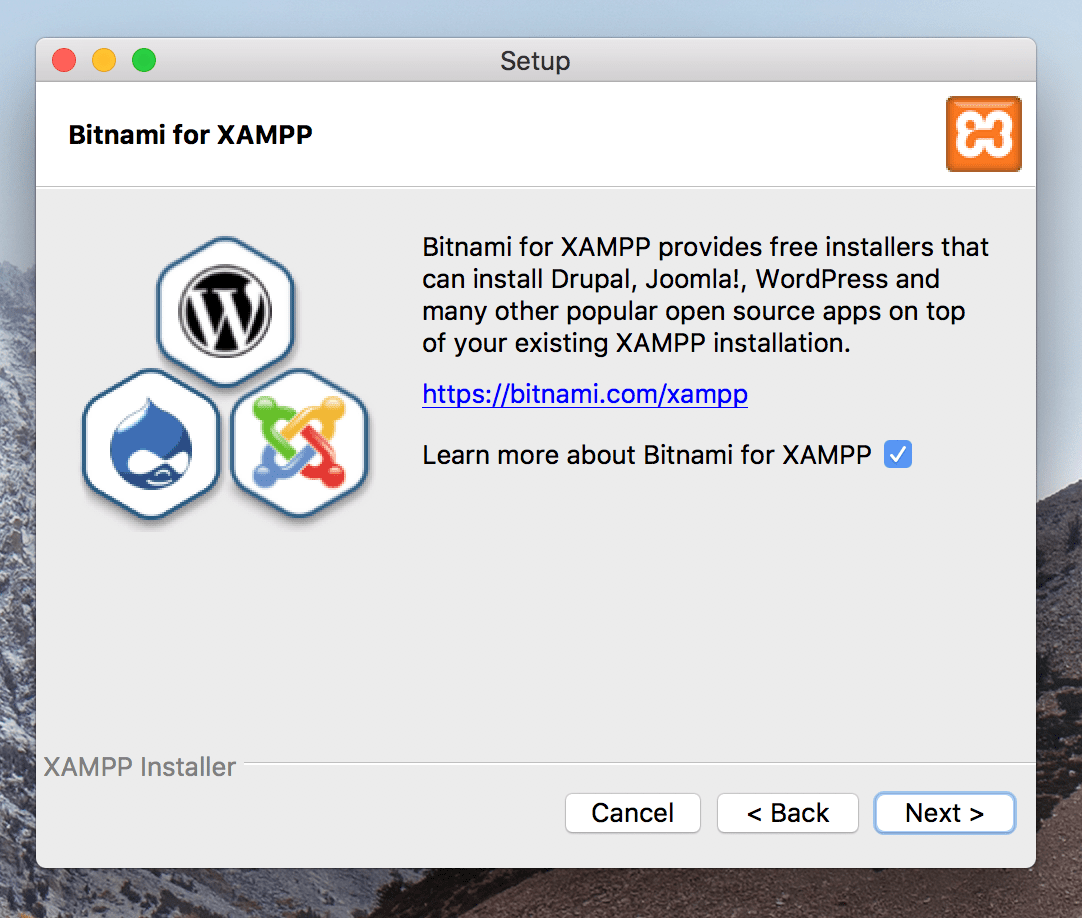
Okay, in this step we can just click the Next button.
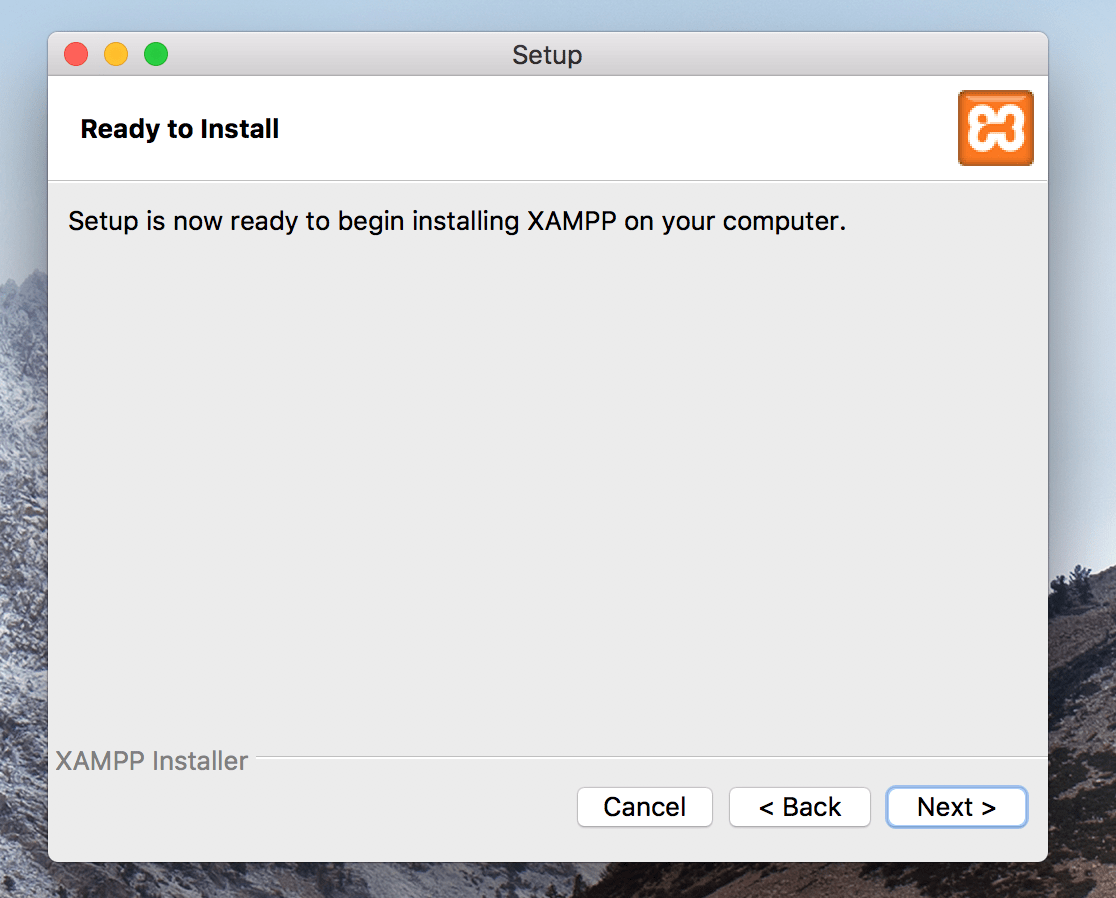
Continue again by clicking Next. After clicking the Next button, the XAMPP installation process on Mac OS is running. Wait for the XAMPP installation process to complete.

If the XAMPP installation process on Mac OS has been completed and successful, it will display a display like the image above. Until this step, please click the Finish button. If the Launch XAMPP checkbox is checked, then after clicking the Finish button, the XAMPP application will automatically open.

After pressing the Finish button, the XAMPP application will automatically open. At this point, please try to run MySQL and Apache Web Server by clicking Start one by one. If everything is running successfully, it means that we have successfully installed the XAMPP application on Mac OS. And now we can open localhost/dashboard or 127.0.0.1/dashboard in the browser.
So this article, until here we have successfully installed the XAMPP application which functions as local development on Mac OS, starting with downloading the XAMPP application and then installing it. Good luck, hopefully this article can be useful and see you in the next article. 👋
- Cara Mengatasi Error XAMPP: MySQL shutdown unexpectedly 23 Oktober 2021 68215 views
- Tutorial CRUD (Create, Read, Update & Delete) Codeigniter 4 dengan Bootstrap 14 Oktober 2021 33683 views
- Laravel 8: REST API Authentication dengan Sanctum 17 September 2021 32646 views
- Membuat REST API CRUD di Laravel 8 dengan Sanctum 18 September 2021 28836 views
- Contoh Cara Menggunakan Sweet Alert di Laravel 8 27 Agustus 2021 28205 views


